


In our last post, we learned how to add auto captions in CapCut PC, turning your videos into accessible, viewer-friendly content without manual typing.
Now, with transitions, you’re adding flow and rhythm — the visual glue that connects your story.
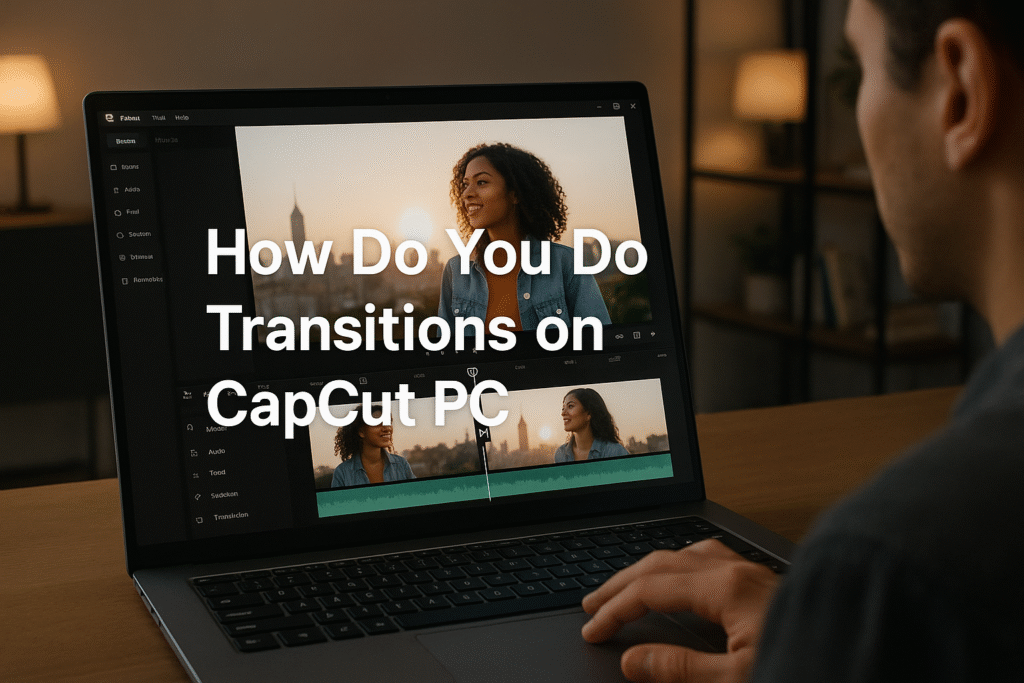
Introduction
Ever watched your edited video and thought, “Hmm… it feels too choppy”?
That’s because your clips need transitions — the secret ingredient that makes videos feel seamless.
Transitions help your scenes blend naturally, guiding the viewer’s eyes smoothly from one moment to another. Whether it’s a soft fade or a dramatic zoom, a good transition instantly makes your video look professional.
So today, we’re diving into how do you do transitions on CapCut PC, the easy way.
And WAIT — there’s more!
We’ll not only add transitions but also tweak their speed and style so your edits feel cinematic, not mechanical.
Let’s get started.
Follow these steps exactly and you will be ready to edit.
Start by launching CapCut Desktop.
Click New Project, then import your clips from your computer, cloud, or synced mobile account.
Drag at least two clips onto the timeline — this is where you’ll apply your transitions.
Pro Tip: Make sure your clips are properly aligned for smoother blending later.
Once both clips are on the timeline, place them side by side with no gaps.
Transitions only appear between connected clips — so make sure they’re touching perfectly.
This ensures CapCut knows exactly where to place your transition.
Step 3: Open the “Transitions” Tab
Now, look at the menu bar above the timeline — you’ll see a tab labeled Transitions.
Click it, and prepare to explore!
You’ll find different transition categories like:
-
Basic (fade, dissolve, wipe)
-
Camera (pan, rotate, zoom)
-
Motion (slide, stretch, push)
-
Stylized (flash, glitch, blur)
Hover your cursor over each transition to preview it instantly.
Found one you like? Great!
Just click on the small “+” icon between the two clips on your timeline.
Then choose your desired transition.
CapCut automatically applies it — and just like that, your video looks smoother already.
Wait, there’s more! You can apply different transitions between multiple clips to match the rhythm or mood of your content.
To fine-tune your transition, click on the transition block between the clips.
You’ll see a duration slider appear.
Drag it left to make it faster (snappy and energetic)
or right to make it slower (cinematic and emotional).
⏱️ Pro Tip: For social media reels, keep transitions short — around 0.3–0.5 seconds.
For cinematic edits, stretch them up to 1–1.5 seconds for a dramatic feel.
Once your transitions are in place, hit Play to preview your edit.
If it flows smoothly — congratulations, you nailed it!
Finally, click Export, choose your resolution and format, and render your finished video.
You’ve officially learned how to do transitions on CapCut PC, one of the key steps to professional-looking edits.
Transitions do more than connect clips — they control how your audience feels when moving from one scene to the next.
Here’s what they can do for your videos:
-
Build anticipation
-
Create smoother pacing
-
Enhance storytelling
-
Add a professional polish
🎬 Pro Tip: Always match your transition style to your video mood — use soft fades for emotional videos, and fast zooms or slides for energetic edits.
Mastering how to do transitions on CapCut PC is the secret to creating videos that feel smooth, polished, and professional. With just a few clicks, you can connect clips seamlessly, control pacing, and guide your viewers through your story with ease. Whether you’re editing social media reels, YouTube vlogs, or business promos, transitions are the bridge between moments — turning simple cuts into cinematic storytelling.
In this blog, we learned how to do transitions on CapCut PC to make your videos flow seamlessly and look more professional. You discovered how to place clips on the timeline, open the Transitions tab, apply effects like fade, slide, or zoom, and adjust their duration for the perfect flow. We also covered why transitions are essential for maintaining viewer engagement and enhancing storytelling. By the end, you’re ready to create smooth, eye-catching edits that keep your audience hooked from start to finish.
Here are some ideas:
TikTok videos
School projects
Product promo videos
Gaming clips
Vlogs
CapCut is especially good for AI video ads for ecommerce marketing, meaning you can:
 Create product showcase videos Add auto captions to increase sales Use AI templates for fast results
Perfect for beginners who want to create professional ads.
While the mobile app is great, the desktop version gives you:
-
A bigger screen to edit better
-
More control over effects and text
-
Faster editing and exporting
-
Keyboard shortcuts to save time
-
Better AI features for ads & business
If you want to grow on social media or make marketing videos, desktop editing will make your life easier.
Because video is the future!
By 2030, over 90% of online content will be video.
People who can edit videos will have:
✅ More job opportunities
✅ More business growth
✅ Better marketing results
✅ Bigger social media audience
Learning CapCut now makes you ahead of many others
Transitions are what make your edits feel natural, not forced.
Whether you’re creating travel reels, vlogs, or promo videos, mastering how to do transitions on CapCut PC gives your content a smooth, cinematic flow that keeps viewers watching.
Try adding at least two transitions today — one soft and one dynamic — and see how much more alive your videos feel.
And don’t go anywhere. Day 11 is all about filters and effects to make your videos truly pop.
- How to download and Install CapCut Desktop in 2026
- Mastering CapCut Basic Editing Tools 2026
- How to import Videos on CapCut PC?
- How to trim videos in CapCut PC?
- Filters and Effects in CapCut PC
- How to cut/clip video in CapCut PC?
- Crop Video in CapCut PC
- How to Freeze Frame in CapCut PC?
- How to Reverse Video in CapCut PC 2026?
- How to add Custom Stickers in CapCut Pc 2026?
- Best Export Settings in CapCut PC?
- How to add overlay in CapCut PC?
- How to remove Green Screen in CapCut PC?
- How to add blur effect in CapCut PC?
- Zoom in Key Frame Step by Step using CapCut Desktop
- How to adjust speed in CapCut PC?
- How to add Music in CapCut PC?
- How to add your own voice in CapCut PC?
- How to add text in CapCut PC?
- How to use CapCut Templates on PC?
- Add Auto Captions on CapCut PC
- Add Transitions in CapCut PC
Find quick answers to the most common questions about How Do You Do Transitions on CapCut PC, and discover how this simple editing step can instantly make your content more engaging, professional, and ready to grab attention in 2026.
Yes! CapCut offers dozens of free transitions in the desktop version. Some advanced effects may require updates or Pro features, but the basics are all free.
Absolutely. You can drag the transition duration slider to control how fast or slow the transition appears.
Yes! You can select multiple clips and apply the same transition style in one click to keep your video consistent.
What’s the best transition for beginners?
Start with Fade or Slide; they’re clean, simple, and work well for most videos.
Why doesn’t the transition appear between my clips?
Make sure your clips are touching on the timeline. Transitions only work when clips are directly connected without any gaps.