


Mastering CapCut basic editing tools is the first step toward creating content that looks polished and engaging. Video editing used to be complicated, requiring expensive software and technical skills. CapCut has changed that, offering beginner-friendly tools that still deliver professional-quality results.
Section 1: Why Start with CapCut Basic Editing Tools?
Every masterpiece begins with a solid foundation, and video editing is no different. Before you explore advanced effects, transitions, or eye-catching animations, it’s important to first understand the CapCut basic editing tools. Simple yet powerful features like trimming, cutting, and merging clips form the backbone of smooth storytelling. These tools might seem basic, but they determine whether your video feels polished and engaging or messy and unwatchable. By mastering these essentials, you gain the confidence to structure your content effectively, setting the stage for more advanced editing techniques. Think of it as laying the groundwork for creativity—once your foundation is strong, you can experiment freely and bring your unique vision to life.
CapCut Basic Editing Tools
Section 2: Trim & Split – Clean Cuts for Smooth Storytelling
Among the CapCut basic editing tools, trimming and splitting stand out as two of the most essential functions for any creator. Trimming allows you to neatly remove unwanted sections from your footage—like pauses, mistakes, or extra frames that add no value—so your video feels sharp and purposeful. On the other hand, splitting gives you the flexibility to break a long video into smaller, more manageable clips. This not only makes editing easier but also gives you greater creative control over pacing, transitions, and storytelling.
By mastering these tools, you ensure that only the most relevant and engaging parts of your content remain in the final cut. Clean cuts create smooth storytelling, helping your audience stay focused without unnecessary distractions. Think of trimming and splitting as the art of refining: you’re sculpting your raw footage into a polished, professional video that keeps viewers hooked from beginning to end. The more you practice these techniques, the more confident you’ll become in shaping your content, laying a strong foundation for advanced editing down the road.
Section 3: Merging Clips – Building the Storyline
Once your clips are cut, the next crucial step is merging them together to create a smooth, cohesive flow. This process might look simple, but it’s one of the most powerful ways to control how your audience experiences your content. Whether you’re editing a vlog, a tutorial, or a promotional ad, merging clips gives you the freedom to arrange your footage in a way that builds suspense, highlights key moments, and keeps viewers engaged from start to finish.
In fact, merging is not just about putting clips side by side—it’s about shaping a narrative. A well-merged sequence can guide your audience through a clear beginning, middle, and end, making even the simplest video feel polished and professional. This is where the CapCut basic editing tools really shine, as they make merging intuitive and efficient for beginners while still offering enough flexibility for advanced creators. By mastering this fundamental technique, you’re learning how to transform scattered clips into a story that resonates with your audience and leaves a lasting impression.
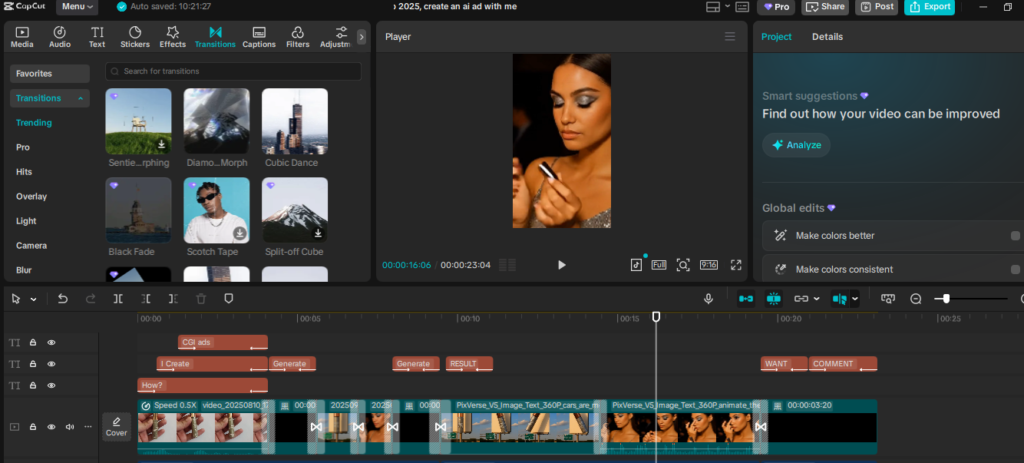
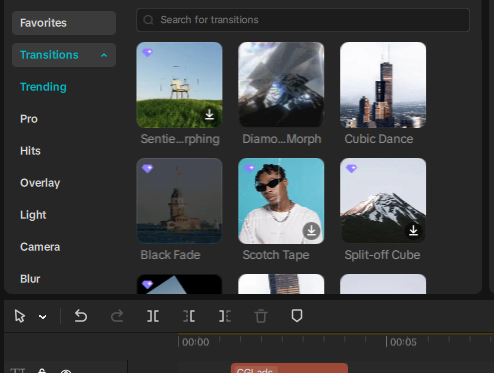
Section 4: Enhancing with Basic Transitions
Transitions may seem like a small detail, but they play a powerful role in making your videos look professional and engaging. Simple techniques like fades, slides, or wipes help connect one scene to the next, ensuring your story flows seamlessly instead of feeling choppy. Within the CapCut basic editing tools, you’ll find an easy-to-use set of transition options that can instantly elevate the quality of your content. Even something as subtle as a fade-in can set the mood, while a slide transition can add energy and momentum to your storytelling.
The beauty of using these tools is that you don’t need advanced editing knowledge to make a big impact—CapCut makes transitions accessible for beginners while still offering the flexibility that professionals appreciate. By thoughtfully adding transitions, you guide your viewers smoothly from one moment to another, keeping them engaged and focused on your message. Remember, it’s these small enhancements that transform raw footage into a polished, professional video.
Conclusion
The journey to professional video editing doesn’t start with flashy effects or complex animations—it begins with mastering the CapCut basic editing tools. Trimming, splitting, merging, and adding transitions might feel simple at first, but these are the stepping stones that turn raw footage into compelling stories. Every great editor, no matter how advanced today, once started with these very basics.
Think of it this way: every time you trim a clip with precision or merge scenes seamlessly, you’re not just editing a video—you’re building creative discipline, sharpening your storytelling skills, and laying the groundwork for growth. The more you practice, the more confident you’ll become, and soon, these tools will feel like second nature.
So, celebrate the small wins. Each cut you make and each transition you apply is proof that you’re moving closer to your goal. Master the CapCut basic editing tools, and you’ll unlock the confidence to explore advanced features and push your creativity further than you imagined. This is just the beginning—your growth as a video creator starts here. If you don’t have CAPCUT desktop installed, Download it from here. https://tinyurl.com/DOWNLOADCAPCUTDESKTOP